Wednesday, September 25, 2013

Dining Room Progress

Hey Everyone! I have been neglecting this blog I know, but I promise it's not on purpose! I started back to school last month so being a full time student and mother leaves very little time to devote to this blog. However, I do plan on posting more when I get caught up on homework and have a few moments of downtime, like now! There are a lot of updates that I need to share and tons of progress pictures in different areas of the house. Does anyone else jump around from room to room or is it just me?

I shared this mood board of our dining room awhile back:


I think the mood board is starting to reflect in our dining room. Here is a before:


The room hadn't evolved much from when we moved in. We did install French doors that lead to the sunroom and my hubby built the farmhouse tables from plans via Ana-White. However, it sat like this for awhile. I think the motivation wasn't there for my hubby because the walls had an ugly texture and he'd have to smooth them out before we could move forward. Fortunately (or unfortunately for him) his trade is in construction and drywall so the task came easy.


After the walls were sanded we picked a paint color a shade or two darker than the kitchen because we wanted the colors to flow. Originally, we had picked a different "brown" color but it had yellow undertones and did not fit the room at all. The color in the kitchen has gray undertones so the clash was horrible. We are learning that the first color choice isn't always the one we go with! Unfortunately, it's after we put it up on the wall haha. I don't have any pictures of the color before because I knew it wasn't staying! Yuck.

I took these "progress" pictures yesterday morning and last night my hubby started to install the crown molding, and wainscoting! He ran out of material so I am hoping it will be complete today so I can take some pictures and share them with you. It looks amazing in there right now! I am so excited.


Besides the chair rail and the paint color, he also built a tray ceiling! It completely makes the room in my opinion and I love it. I can't wait to see it with crown molding.

I am sorry for the quality of the photos, this room is super hard to photograph! Also, the light fixture is about ready to get the boot. We are having trouble finding one we like, but I am enjoying the hunt.


This wall is where the long shelving will go. I ordered this clock from Joss and Main today so I am really excited for that stage of the dining room. I am glad I ordered it when I did because it is now sold out.  Also, we still have to sand and paint our chairs and I am hoping it will be before it gets too cold here in Ohio!


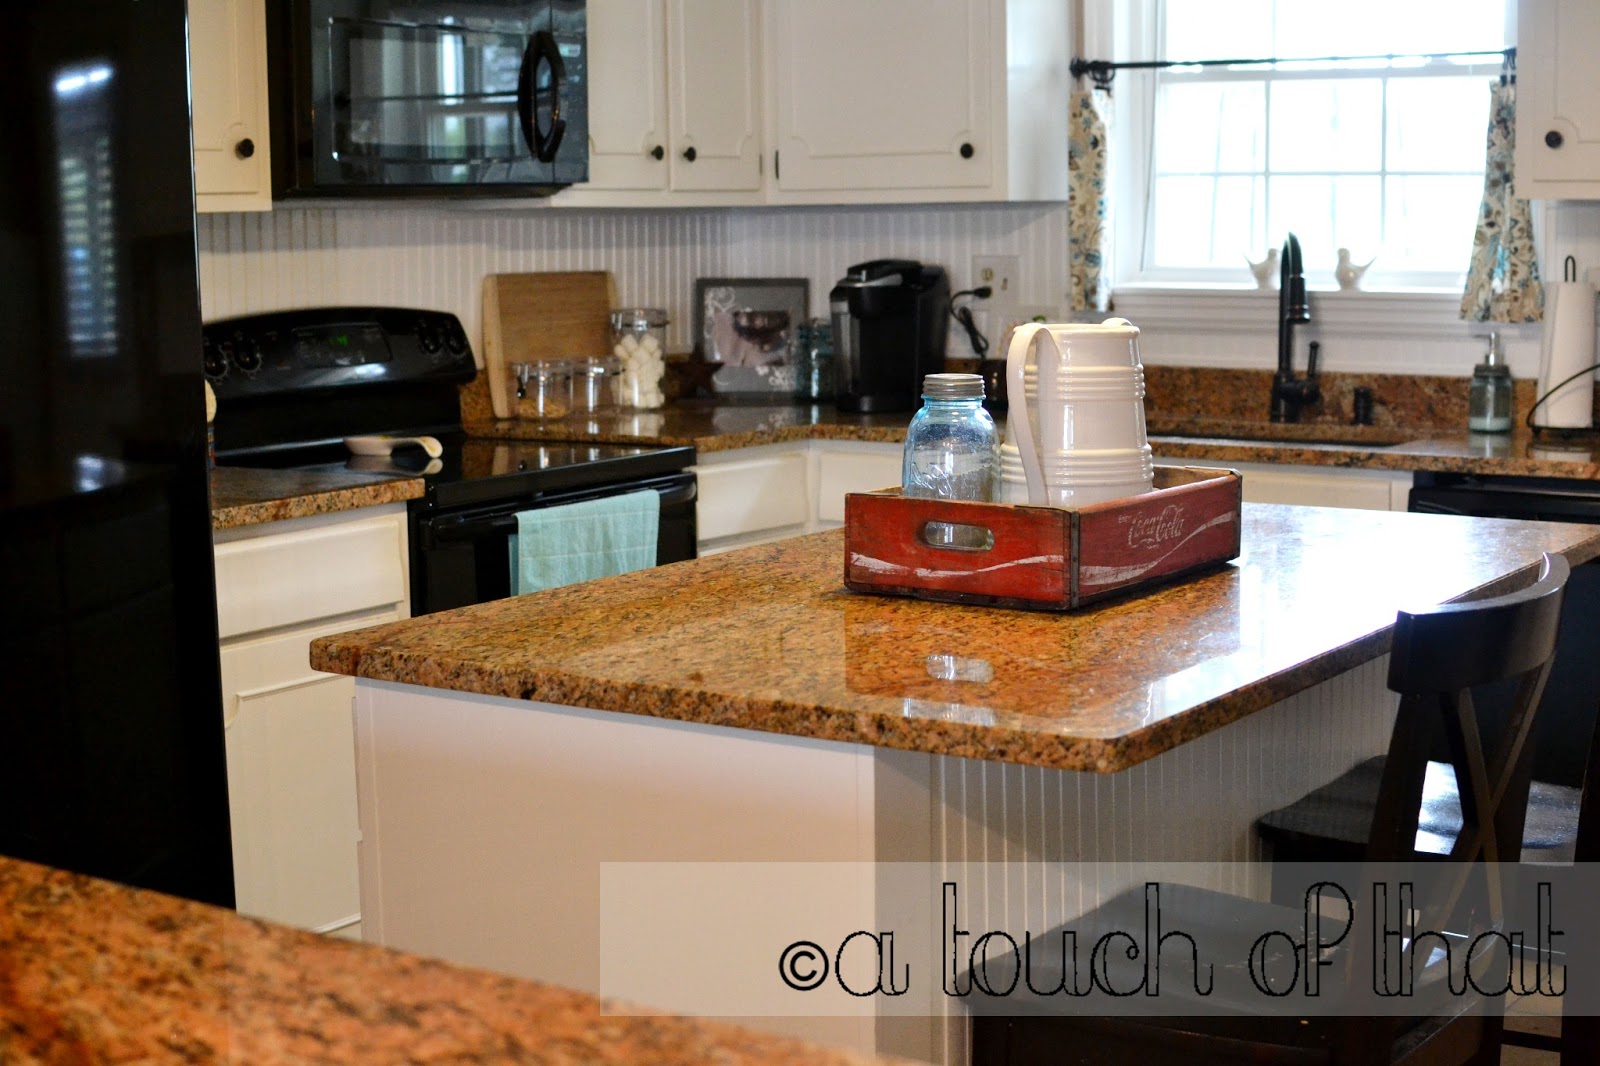
This is the view into the kitchen. I am also on the hunt for a buffet table. We have one we are thinking about using but it needs to be painted and is currently sitting in our garage. I enjoy going to antique malls and flea markets so I am hoping I find one ready to go!

This is just an up close view of my fall table. I found those cool gourds at an antique mall and had to snatch them up. They were .75 each and home grown. Always a plus! The wooden pumpkins I purchased from Michaels.

I might have high hopes but I'd really like for the shelving to be up this weekend. We want to replace the flooring with wood tile but that might be down the line! Here is our to do list for the room:
  • Smooth walls
  • Paint
  • Paint trim
  • Paint french doors to sun-room
  • Paint chairs a navy color
  • Find a buffet for extra storage
  • DIY a clock (purchased)
  • DIY pallet frames
  • Add long shelving to the bare wall
  • Find a rug 
  • Replace flooring
  • DIY art
  • Tray ceiling?
  • Find new light fixture
It feels good to have some stuff checked off especially since they some were bigger than others!

Thanks for visiting :)
Amanda

Monday, August 19, 2013

Outdoor Patio

Our backyard needs help. When we moved in, the fence was lined with overgrown bushes and weeds. There was even a cluster of weeds in the middle of the yard. Bugs were awful! So last fall, my hubby and his dad worked on removing ALL of the shrubs. Let me share a picture of that with you...

 Fugly huh? You can see exactly how tall and overgrown the bushes were in the upper left of that photo! I felt so bad because he got poison ivy, TWICE. Bad poison ivy but at least it was him and not me the girls. Sometimes I miss those shrubs. It blocked the view of the neighbors shed and the soccer fields behind us. Hopefully in spring we can get a privacy fence put up because, the current one has gotta go!

We are making more progress back there this week! On both sides of our sunroom we are pouring concrete. and there will be a sidewalk in front of the sunroom that connects them both.

Note to Self: Remove information sticker from the window! Oops.
This is right off the sunroom from the kitchen back door. A little down the line he wants to frame in his grill complete with storage and counters. Until then, the grill will sit a little off the patio and the space will house a lovely new patio set. I can't wait for that part. I have my eye on one at Home Depot. You cant see it but at the end of the sunroom is where we plan on putting a rain barrel!

This is where the sidewalk will connect to the other side of the patio. On the sides of the walkway that leads into the sunroom will be flower beds.

I'm excited about this spot. I am DIY'ing a large chalkboard to hang on the brick wall for the girls. Also, we're going to build a tall storage "shed" for outdoor toys and some lawn equipment. This is the side of the house where the garage is. Eventually, he's going to pour MORE concrete on the side of the house where he will park his boat and where the recycling bins and trash cans will be in their new covered home.

I can't wait to share more! We're hoping to get it done this week :)

Thanks for visiting!
Amanda

Thursday, August 8, 2013

Playhouse Part 1

When we first moved in our basement left much to be desired. There was paneling all around, yucky carpet that needed to be ripped out and a dark brick fireplace. After discovering a leak and some mold when the carpet was removed, it became an area we worked on right away. Now that it's all clean and fresh my most favorite part is the playhouse my hubby built under the stairs for our girls!

I've always wanted to make it look more like a house but when he built it I was pregnant with our second, Ellena. Also, I had school, then a newborn, and then life. So needless to say it was left blank. A few weeks ago I got the itch to get started and so I did!

Never mind the inside of the house, that's further down the line! Also, never mind the unfinished fence. I ran out of vinyl!! By the way, I never knew how tedious it would be to put vinyl up on this house. I think the problem was the walls being textured. It took me two days to get where I am in the above picture. Although I am waiting on an order of vinyl, I still thought I'd share :).

The entire design was created using my Silhouette Cameo. I love to scrapbook, so I have had these images saved in my library for a long time. I love how easy it is to cut vinyl with the Silhouette. I used to own a Cricut, if you have one it'd do the job just fine! I still want to add a few more details to this side of the house. I'm thinking more garden bugs (butterflies, ladybugs etc...) and I also want to add clouds and a sun to the roof part.


There is still a long ways to go but I am hoping it'll be done by the end of summer. There is also a lot of touching up on the walls that needs to be done! We recently did a service change so the hallway leading to upstairs is still an ugly green, needs sanded, and repainted! So don't mind the random splotches of drywall mud, or areas that clearly need painted... like the window trim on the clubhouse! :)

Here are my plans for this baby:

-Finish the outside vinyl
-Paint the trim of the windows and the baseboards
-Create a flower box for the window and fill with fakes
-Create a working mailbox to be able to leave them notes
-DIY some curtains (I already have the fabric!)
-DIY a new kitchen (the current one is cheap and a spur of the moment purchase)
-Hang some art inside
-DIY a "welcome" sign or a playhouse name
-Add shelves inside?

Still lots to do but since I am working on a mini level I think it can be done by the end of summer. I can't wait to share it with you!

Thanks for visiting,

Amanda

Linking up: Yellow Bliss RoadHandy Man, Crafty WomanEmbracing Change, House of Hepworths

Tuesday, August 6, 2013

Instagram Photo Display: An Old Shutter!

Instagram and I are like BFF's. I love it. A lot of my favorite pictures have been shared through Instagram and I enjoy displaying them around my home. I made a chevron frame a few weeks ago but I wanted something bigger to display more.

I found this old shutter at an antique mall but I don't have any before pictures! My hubby recently got a paint sprayer so he jumped the gun before I had a chance to take any. Just imagine one side a 70's orange and the other side a brown. Pretty huh? Originally, I wanted a taller shutter that I can put in a corner but this was perfect for the space off of my entry.

The color of the shutter is Rainwater by Martha Stewart. I love looking at the "oops" section in the paint department of Home Depot. I snagged two tester's of this color for $.50! I think it's a really pretty shade of blue.

Once my hubby hung it on the wall for me, I used my Canon Selphy to print some of my favorite pics I wanted to display.

I like my Selphy but the only beef I have with it is it doesn't print a true 4x6. The edges are perforated so part of the picture comes off when you remove them. It's ok if you don't have a border around your photo, like the one on the right.

This is what it looks like empty. I still need to touch up the holes with more paint. I think around Christmas I will use this to display Christmas cards!

I took my prints and some medium sized clothespins that I purchased at Walmart in the office section and came out with this:

Cute huh? I will share my entryway soon. It's sort of bare right now but with fall on the way I will have it decorate and looking pretty in no time.

Are you on Instagram? My user name is avillarreal140 if you are!

Thanks for visiting!

-Amanda

Linking Up: handymancraftywoman, itsoverflowing, creativelylivingblog, abowlfulloflemons, craft-o-maniac

Monday, August 5, 2013

Worlds Longest Yard Sale & Weekend Deals

Yard sales are my kind of thing. I love them. About as much as I love Frappuccino's and I love me some Frappuccino's! I was so excited when I figured out the Worlds Longest Yard Sale was happening over the weekend. It runs right through my town and traveling a little further north or south will almost always guarantee good deals. Since part of the sale was literally one street over I was kind of bummed I didn't read anything about it through our city flyer. I mean really, that's important information!

I didn't find a whole lot, I had my girls with me so traveling to where we did was a headache and I wasn't up for going any further. However, I did manage to spend a whopping $5.50! Here are some of my goodies:

I bought all of these embroidery hoops for $1! One whole dollar! They are about $2-$5 depending on the size at Joann's. I felt I scored a deal. I cant wait to create some of the projects I've pinned on Pinterest using these. I think a few might go in my daughter's play house which is what I'm currently working on! It's almost finished and I can't wait to share it with you.


I also scored these two trays! The top bronze tray was $.25!! I mean come on, a little spray paint and I can fully give it my heart. The bottom tray I snagged for $1 and I think it'll look good in my sunroom as well. Never mind the unfinished pallet table, I plan to share that with you as well... once I get it finished ;).

I forgot to take a picture of my other finds but I found a wooden box with a snowman painted on the front that I plan on painting over and using for storage/décor. I also found another wooden box and a few picture frames. The lady gave it all to me for $2.50!

I think that was a lot of great stuff for very little money!

On Sunday, I finally found the perfect vintage scale for my kitchen. I have searched for one for over a year! I've looked on Etsy, in yard sales even at the antique malls and haven't found anything. Well, I have found them on Etsy but the prices were a little hard to swallow. I got this beauty for $25:


I love it. They had a mint colored one but I figured this rusty ol' thing would fit my kitchen better. From the same store I also bought this side table. It looks so pretty in my sunroom, the décor is temporary but I think it looks cute!


I was going to leave the box my mason jars are on as is but that big brown spot is sort of bugging me! I guess that adds another project to my list! ;)

Thanks for visiting!

-Amanda

Wednesday, July 17, 2013

Our Dining Room Mood Board

I love making mood boards for my home! It gives me and my hubby a feel of how the room could possibly look. It also brings us on the same page so we're not arguing when one doesn't understand the other. If I'm not explaining how I want our dining room table, I just refer to the mood board. If I want to remember to DIY a certain element, I refer to the mood board. Everything I would like for a space is all on one image. Such a good idea them mood boards! Before I share our inspiration, let's look at some befores.

When we moved into our home, our dining room looked like this:

 
I need a moment to process how little my oldest daughter was in this photo. My youngest daughter is about that age now! Ok, moving on. Like the rest of the house, the dining room was old and outdated. It hosted our pub height dining table brought from our apartment up until January! As in, January 2013! Since our old table had a seating for four we didn't really use the room that much. Slowly, we've worked on updating in here. We replaced the carpet, curtains and switched out the broken sliders for French doors. They open up to the sunroom so on cool breezy days we keep them open. Here is how our dining room looks now:

I know what you're thinking. Contact Better Homes and Gardens right? NO? Well I wouldn't either. Especially with the missing trim and the unpainted French doors ;). What I love about this room is my table. Have you heard of Ana-White? I hope so, she's amazing. My hubby built this table for me from this plan. The chairs stick out like a sore thumb but I plan on sanding them down and painting them a navy. It's going to all make sense when it's finished! At least I hope so, because that's what I've been telling all of my friends and family. :)

Here is the direction I want to take the room:

As you can see I already have my farmhouse table ;). Progress people. What I love most and what I am trying to get my hubby to do next are the shelves. I want the long wall (that you cant see in the picture) to have is a layer of shelves like in the mood board. I have a bunch of vintage kitchen décor that I am eager to display and I'd like to try my hand at DIY'n a clock. Those pallet frames? Amazing! We have a big stack of pallets in our back yard (should I admit that?) so I probably could knock this out now ;). I haven't decided on a wall color but I'm assuming it'll be in the brown family. I originally wanted to stay away from builder beige but we'll see :).

Thanks for visiting!

Thursday, July 11, 2013

DIY Chevron Bulletin Frame


Hey everyone!

So I know it may seem all I update are picture frames, but when I saw my stash of forgotten cork board squares I had to claim another. I mean, these cork board squares are at least three years old so why not?


I grabbed one of the squares and a frame that housed our fall bucket list. It has sat unused in my basement ever since. *blush* It would be nice to redo another thrift store frame and save a good white one, but I didn't have any older ones big enough.


After popping out the old bucket list, I used the glass as a guide for cutting my cork board. It helps if you score it a few times with the X ACTO knife instead of trying to cut all the way through. You are then left with a perfect 8x10 (or whatever size you are cutting) with no frayed edges.


Let's be honest at this point. I enjoy scrapbooking. I have a Silhouette Cameo that cuts all different kinds of shapes. It only made sense to have the machine cut the chevron for me. I wasn't about to measure if I didn't have to! Math is not my strong point.

I decided to make a vinyl stencil so all I'd have to do is apply it to the cork and paint in the negatives. Making vinyl stencils are super easy and super fast. If you don't have a silhouette machine and are pretty artistic or handy I am sure you could find an image online and trace it onto the vinyl. Then use your X acto knife to cut around the image.
Once my stencil was finished I used my X acto knife to weed out the negative part of the image. Since we aren't dealing with letters, I just tossed the pieces aside.

Most people who craft with vinyl are smart enough to buy more transfer tape than vinyl itself so they never run out. I am not one of those people. I never seem to buy enough transfer tape and instead I am left with using Frog Tape. It works just the same. Actually, I am smart. This saves so much more money so HA to the vinyl companies out there. :)

After covering my image with the Frog Tape I "burnished" the edges with my fingers. All that means is pressing down real hard. A credit card works great in this situation, but so do fingers! After that's finished gently lift the tape off of the vinyl backing and it should come up pretty smoothly.

I don't have a picture of this step but once I placed the image on my piece of cork I "burnished" the whole image so it would stick to the surface. When removing the tape its best if you do it at an angle. If you see the vinyl is sticking to the tape and not the surface change your direction and move slower. Since cork isn't a smooth surface you sometimes have to change your direction a few times!

Acrylic paint is perfect for these types of projects. I wanted a gray color but since I don't have gray I went elementary and brought out white and black. If you do this, make sure you mix more than what you assume would be enough. The cork sucks up a lot of the paint and its hard getting the same color if you have to mix another batch. I may or may not know that from this project.

This is how your project will look. I heart vinyl stencils, they sure make for crisp lines... if you burnish real well! Before the paint dries it's best to remove the vinyl. Just be careful the wet part of the vinyl doesn't touch the unpainted part of the cork!

Once it is dry just put it back in the frame! I decided to display a few Instagram (avillarreal140) pictures in mine for now. I think it'd also be cute to display earrings or on it's own in a space that needs more texture.

*I like these cork squares because I remember them being pretty cheap. However, if you make this project to display pictures or memos I recommend doubling up on the cork. It is pretty thin and with one piece the push pins will be exposed in the back!

Thanks for visiting!

Amanda

Linking up with Yellow Bliss Road!

Monday, July 8, 2013

Hello Kitchen!

I hope everyone had a great holiday and enjoyed their weekend! We had a great time watching the fireworks, eating ice cream and spending the time with friends and family. Summer always seems to go much faster after the 4th of July.

In addition to the festivities we "finished" up our kitchen! We still have a list of things we want to do but for now, it's at least 75% complete. It makes me so happy seeing the kitchen now. All of the unfinished projects are finished, paint is on the wall, and our bead-board and toe kicks are complete. I'll share what we want to do to be at 100% at the end of the post. First, the before *shudder*:


The kitchen seriously needed some love and love is what we gave it! Here are the "after's":

 AHH! Isn't the after such a breath of fresh air? Last week we finally switched out our microwave from a giant one in the corner to one over the stove. I am so happy! Even though we have the island and the breakfast bar, that area right next to the stove is prime real estate when it comes to cooking. I do have "decor" and my Keurig has a new home in that location but it doesn't affect the space for prepping or spreading out.
 This view is from the door to the basement looking in. I used to have my fruit in a giant wire basket but being in a milk glass container really makes the color of the fruit pop and takes up less space. The fish will be moved eventually to our basement when we work on adding more furniture for storage! I don't have a lot of cookbooks because I'd rather Pinterest a recipe or search online so what I do have is in the corner with two mason jars as bookends. I'm not sure what to do with the white basket but for now it is holding our wipes and remote. The breakfast bar looks into our kitchen so it is always in reach. With a 3 year old and a 17 month old keeping them out of reach is key!

 This view is looking from the dining room into the kitchen. The bead board on the island is what started the whole thing ;). For the record, it was my idea to have the toe kick match the back-splash but my hubby is trying to take all the credit.
I made this growth chart over the weekend. I decided not to share a tutorial because the idea is not mine. I lifted it from Katie Bower of Bower Power and she has a great tutorial over on her blog. The only thing I did differently was to use my Silhouette Cameo to cut the numbers out of vinyl. We already have our first marks on it and I cant wait to see it fill up!

Well that's how our kitchen is looking today! Eventually, we want to replace the flooring with hardwood tile. As you seen in the before photo, our kitchen originally had blue carpet. So we were sort of rushed to get that  replaced and in the process the tile job wasn't done the proper way. Seriously, it's so uneven and crooked in person and you might be able to tell if you look close enough in the after photos. Also, I want to find a light fixture for above the sink. We bought one when we purchased the two we have now but I returned it thinking I could find something better. A year later and the spot is still bare! Ya live and ya learn. The door leading to the sun room will be replaced with a full glass one as well. Our house sits in shade so all of the light we can get to come in the better. Finally, we want to re-sand and paint the cabinets the right way. We'd like them to match before we purchase hardware and we'd like to sturdy up the stock cabinets a little more. 

Well, that is our kitchen. I love it!

Thanks for stopping by :).

Amanda

Tuesday, July 2, 2013

DIY Washi Tape Frame


If you were to visit my house and I gave you a tour you'd probably start questioning my cleaning abilities once we got to the basement. We have a partial basement and only one half of that is finished. It's become a dumping ground, especially in the unfinished side. Beyond home décor and DIY projects I enjoy scrapbooking. The unfinished side will eventually become a scrapbook room/office but until then, it's where we store clutter.

Included in the clutter are items I've purchased at thrift stores or yard sales waiting for a new life. Thrift store visits like... last summer. This frame was one of those purchases. I can't remember how much it was but I'm sure it was only a few dollars.

Isn't she a beaut?
I have a faux entryway nook in my living room and the area has been looking a little drab. Last year, my house was decorated for every holiday, this year? Not so much. Recently, we found a dresser that fits perfectly in the nook and it has inspired me to pretty up the area again. This is where the Washi Tape comes in.

I love Washi Tape. It comes in a bunch of different colors and patterns and you can maneuver it without leaving any residue behind. Since I scrapbook, it's the perfect embellishment. It's also the perfect accent to any project outside of scrapbooking, like my frame.

I started wrapping different pieces of tape around my frame without following a specific pattern. If it looked good, it went on. If a color was needed more in one area it was added. Simple process for quick project.

Since some of the Washi Tape I have is transparent, the wood frame was showing through beyond my liking. Another muse of mine is to browse the "oops" paint section of Home Depot. Often times they have test pots in pretty colors for only $.50! It's totally worth taking a look.

I must admit, waiting for paint to dry is horrible! I was so ready to put my tape back on and see how cute it'd end up being. I had to busy myself with other things. While I waited, I browsed my free printables & downloads board on Pinterest. I found the perfect printable that was free, colorful, and cute!


via
Is that not adorable? It comes in a bunch of different colors as well! I chose yellow because it seemed to add more brightness and color than the other options. Although, all of the other options are equally amazing!


So for roughly less than $5, I have a colorful new frame to display in my home!


It looks so nice against our gray walls and next to my white bulb vases! I like these types of projects, cheap, cute, and home made!


Thanks for stopping by!

Linking up with: Two Twenty One's All Things Summer Link Party!